

What you need:
Fabric A:
1 piece - 6" x 2"
1 piece - 6" x 2 1/2"
2 pieces - 4 1/2" x 2 1/2"
Fabric B:
1 piece - 6" x 2"
1 piece - 6" x 2 1/2"
Elastic:
1 piece - 1" wide cut 2 1/2" long
Ball Point Sewing Machine Needle (needed later on in the tutorial)
Seam Allowance is 1/4 inch unless otherwise stated.
You will also need your usual sewing notions, iron, sewing machine, pins, ect.
Let's get started.
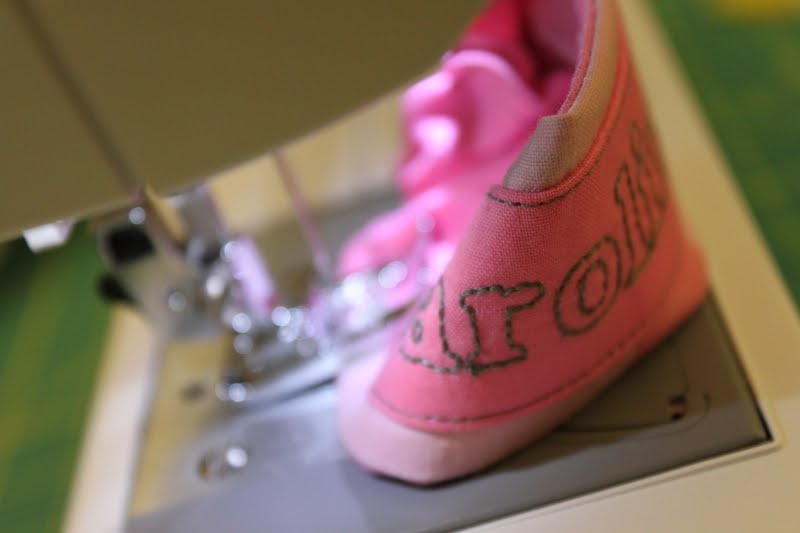
First things first - if you decide to do some machine embroidery to decorate your bottle cosy, you might want to do that prior to cutting your fabric. I think this was the second time I've actually used the embroidery setting on my machine, so I am nowhere good enough to use a small piece of fabric in the hoop. If you are doing the decorating by hand, feel free to add it whenever it is easiest for you.
Here is mine.

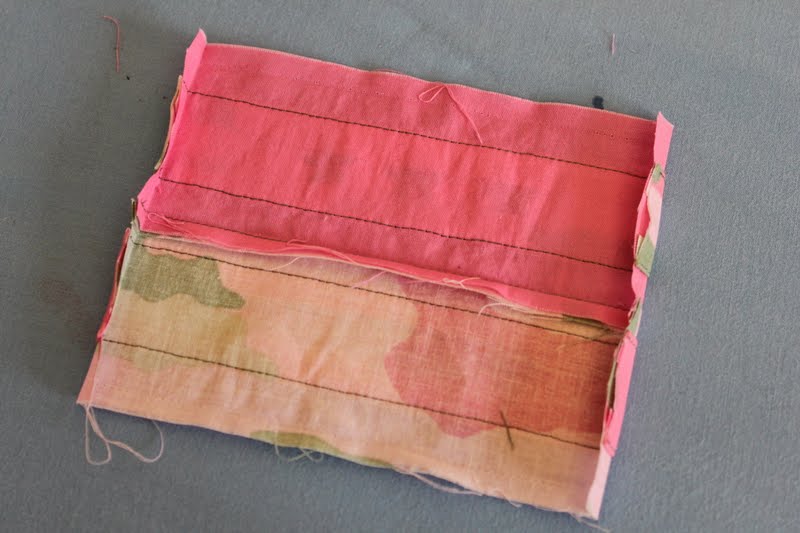
Once you have your pieces cut, take the 6"x2" fabric pieces of both fabric A and fabric B and iron down 1/2" on both sides (lengthwise) of both fabrics. (Ignore the stabilizing material you see below.)


Put right sides together and stitch along one length. Then open and press the seam to one side.


Take your little piece of elastic and stick it in the middle of the little tube you just created. Line it up with one end and place it in the middle. Stitch this end closed making sure you stitch through the elastic.

Flip it around and do the same thing on the other end. (The fabric will need to be scrunched down.)

Now, slip one end of your fabric covered elastic piece (until the seam is covered) and stitch it in place. This is a lot of fabric to put through the machine, so take your time and work it through.


Hope you all have enjoyed this. If you have ANY questions, please feel free to email me.
Once again - Thank you, Crystal, for letting me crash your blog! And to all you readers out there, come on over and have a look around This Too!. I would love to have you!
It looks beautiful.I really enjoy it.Well done job.Thanks for sharing.
ReplyDelete-water bottles